Open the Imports page
Review previous imports
The Imports page lists your previous upload tasks with their type, file name, status, and timestamps.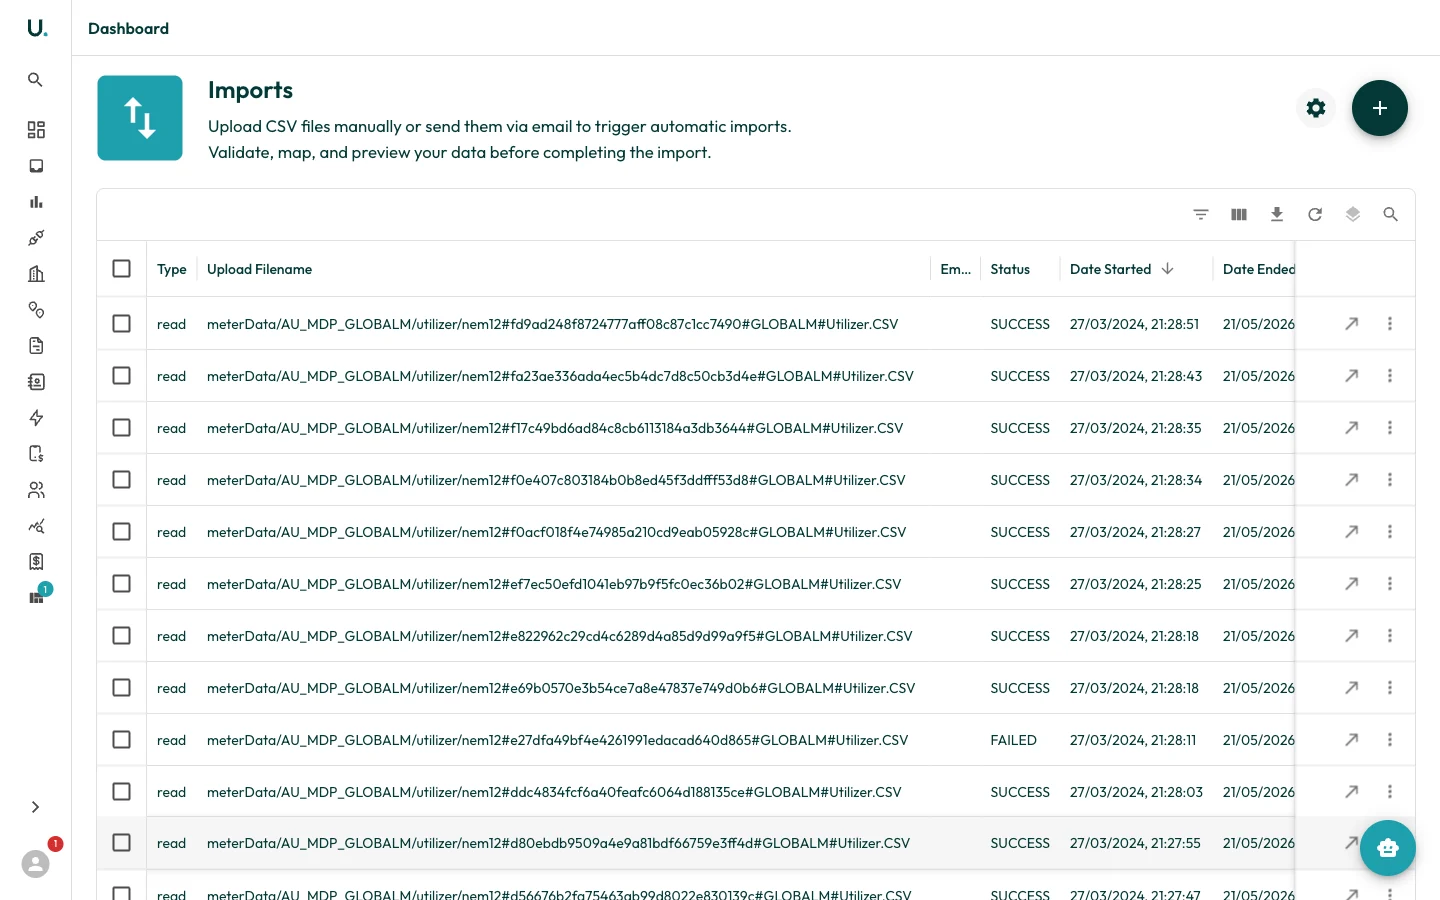
Run the Bulk Upload Wizard
The wizard guides you through four steps: select a template, choose how to provide your data, supply the data, then upload and monitor.Select a template
Choose the type of data you want to import. Each template card shows how many fields it has and how many are required.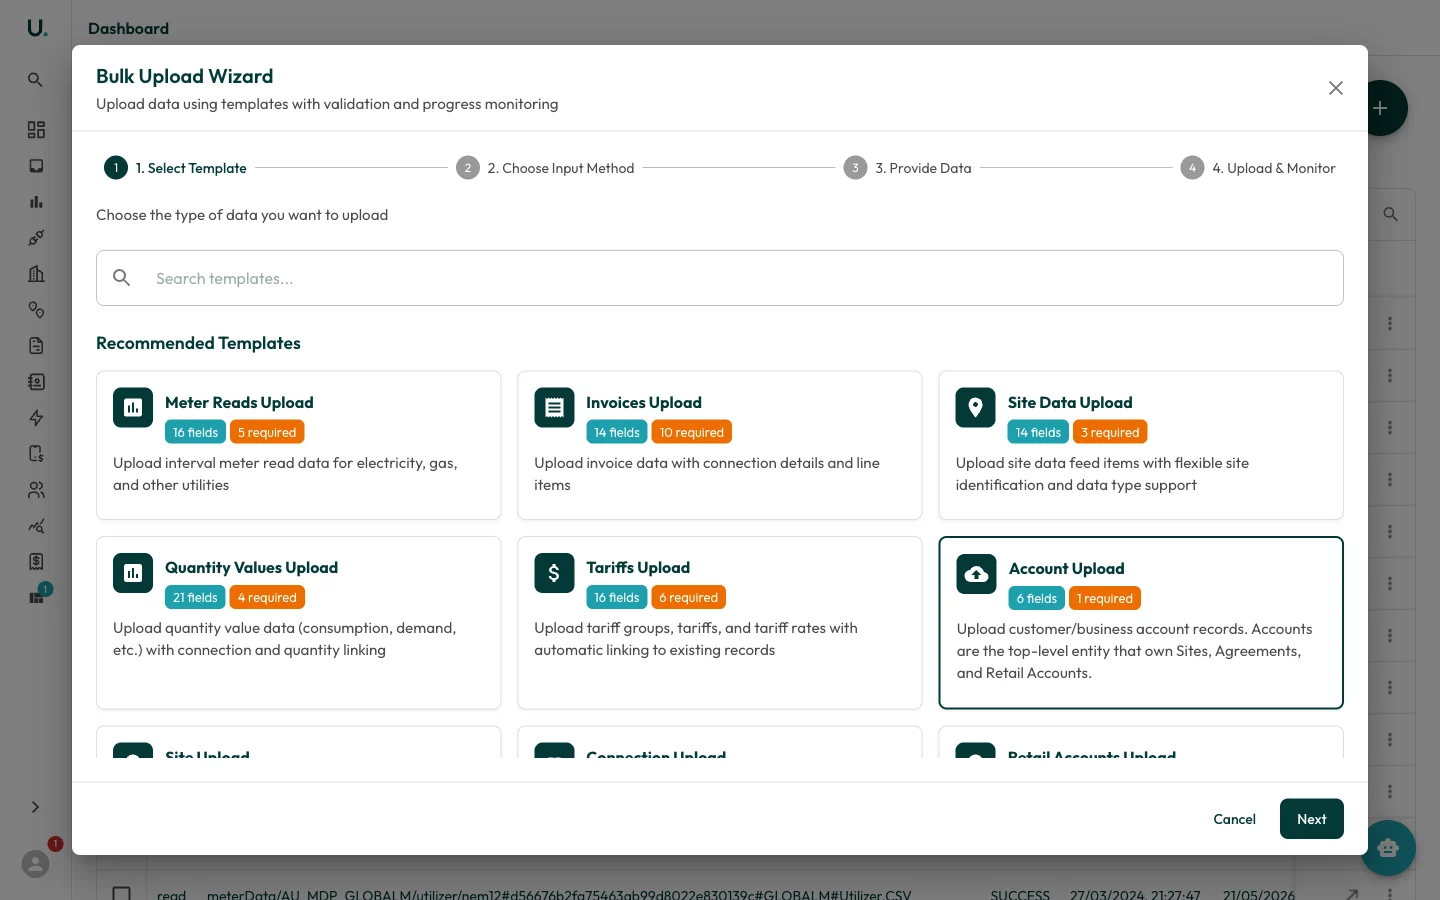
Choose an input method
Decide how you want to provide your data — upload a CSV file, or enter rows manually in an editable grid.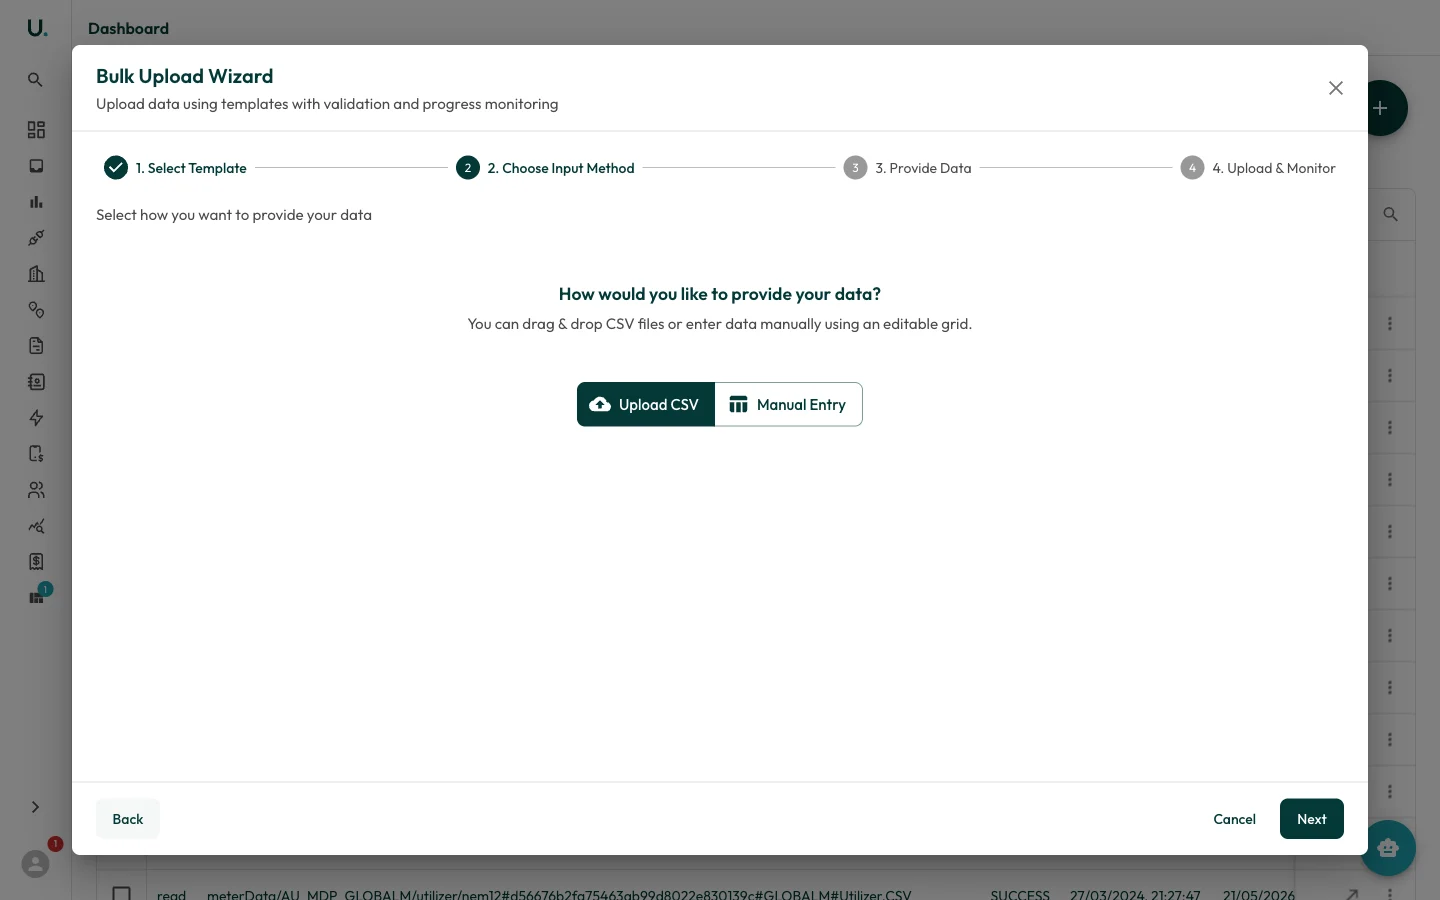
Provide your data
If you chose Upload CSV, click Download Template with Sample Data to get a correctly-formatted CSV with example rows. Fill it in, then drag and drop your file (or several) onto the upload area. Each file can be up to 50 MB.
Review import results
Back on the Imports page, each upload task has a row menu for reviewing the outcome:- Download — Retrieve the original file you uploaded.
- Exceptions — Download a CSV of the rows that failed, with the reason for each.
- Result Data — Download a CSV showing the per-row outcome (success or failure) for the whole file.
- Refresh — Re-check the status of an in-progress task.
Invalid files are skipped during upload rather than blocking the rest. Review the Exceptions report to see exactly which rows were rejected and why, then fix and re-import just those rows.