Open the create drawer
Navigate to the Accounts page from the sidebar and click the + button in the top-right corner.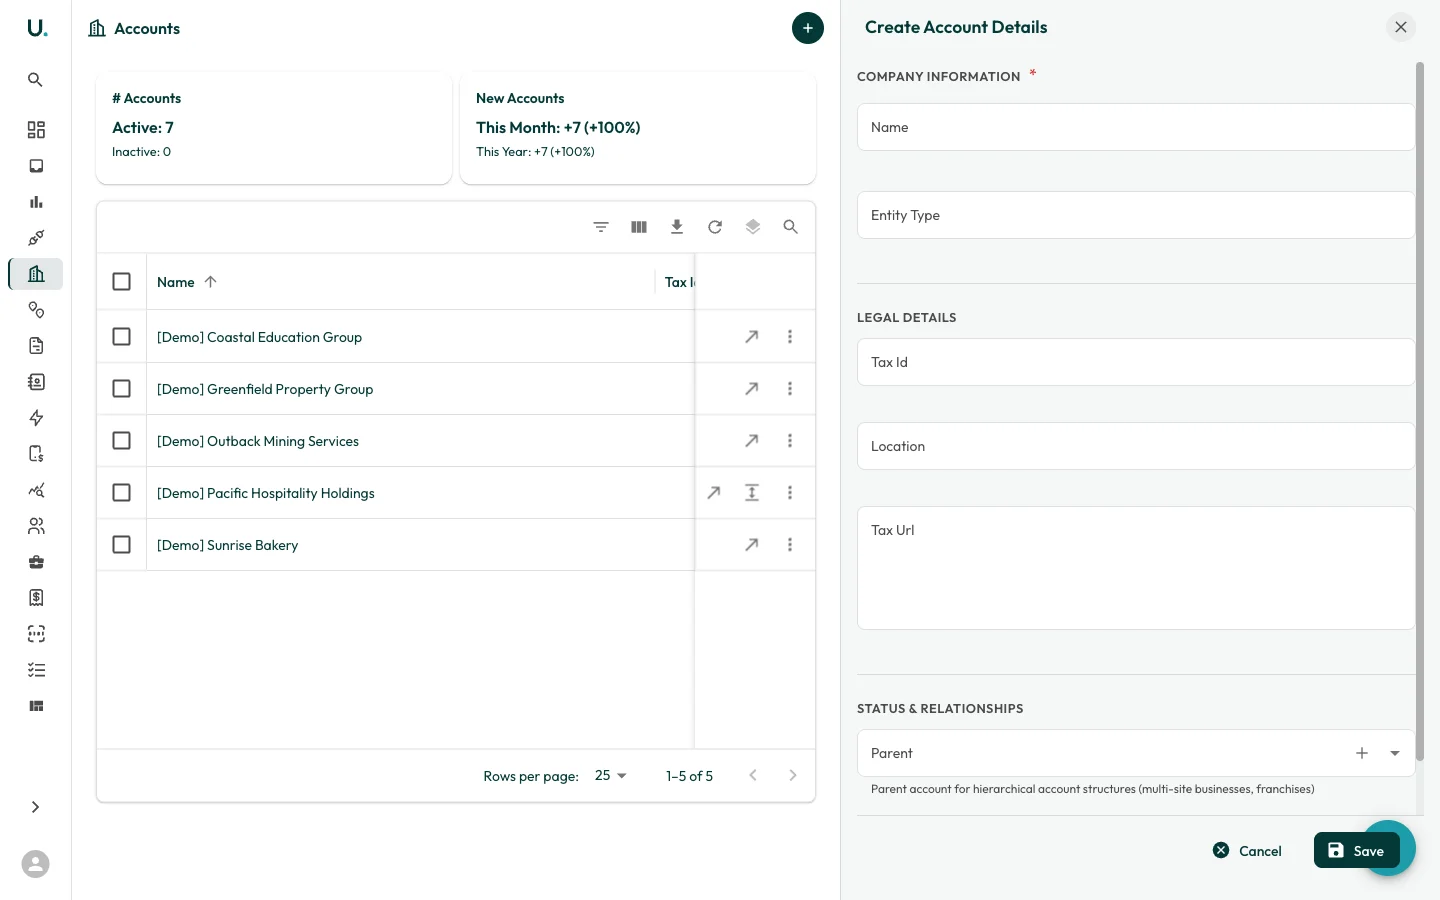
Fill in company information
The create drawer opens with the following sections:
Company information (required)
- Name — Enter the business name. This field supports autocomplete to help you avoid duplicates.
- Entity Type — Select the legal entity type (for example, Australian Private Company, Strata-title, Other Partnership).
Legal details
- Tax Id — Enter the ABN or ACN (format: 11 111 111 111).
- Location — Country code (for example, AU).
- Tax Url — Link to the ABR entry for verification.
Status and relationships
- Parent — Optionally link this account to a parent account for hierarchical structures (for example, franchises or multi-site businesses). Use the Quick Add button to create a parent account on the fly.
After creating an account
Once created, you should:Create agreements
Set up energy agreements with suppliers. See Managing Agreements for details.